Bathroom Floor Tile Installation in Massachusetts
Subfloor prep, waterproofing, heated floors, slip-resistant tile, and clean transitions to hallways. Bathroom floors are different from any other floor in your home — they need to be installed differently too.
Bathroom floors get treated rough. Daily water spills, steam from showers, dropped soap, wet feet, cleaning chemicals — all of that for 20+ years. Installing tile on a bathroom floor isn’t the same as installing tile in a kitchen or hallway. The subfloor has to be solid enough that grout joints don’t crack, the slip resistance has to be appropriate for wet feet, and the waterproofing under the tile has to keep moisture from reaching the framing below.
At JM All-Pro Services, bathroom floor tile is one of our core specialties. We handle the subfloor prep (often the most-skipped step), the membrane work, the heated-floor coordination, and the tile install itself — all in-house. No subcontracted tile crews, no shortcuts on the parts you can’t see.
01Why Subfloor Prep Decides Everything
The L/360 Standard — Non-Negotiable for Tile
For tile to not crack, the subfloor under it can’t deflect more than 1/360 of the span under load. In older Massachusetts homes — especially 2nd-floor bathrooms over wood-framed first floors — many subfloors don’t meet this. We always check before laying tile. Skipping this step is why tile floors crack within the first year on so many installs.
▸ JOIST INSPECTION
Joist size, spacing, span, and condition checked. 2×10 at 16″ OC is typical for tile-ready floors.
▸ SUBFLOOR BUILD-UP
3/4″ plywood minimum + 1/4″ cement backer board or uncoupling membrane (Ditra). Total ≈ 1″ tile-ready substrate.
▸ ROT & MOISTURE
Older bathrooms often have hidden rot near the toilet flange and tub. We inspect every demo before re-tiling.
▸ FLATNESS CHECK
Subfloor must be flat to 1/8″ over 10 feet for large-format tile. Self-leveling compound used when needed.
▸ JOIST REINFORCEMENT
When joists are too small or spans too long, we sister joists or add blocking before tile work begins.
▸ MEMBRANE LAYER
Schluter Ditra uncoupling membrane or equivalent goes between substrate and tile to absorb floor movement.
02Tile Materials That Work on Bathroom Floors
Not every tile is rated for floors. PEI rating, water absorption, and slip resistance all matter — especially for wet-foot bathroom floors. These are the materials we install most often:
Porcelain
Lowest water absorption (≤0.5%), highest PEI rating, hardest tile. The default recommendation for bathroom floors.
Ceramic (Floor Rated)
Only floor-rated ceramic should be used (PEI III+). More affordable than porcelain but with higher water absorption.
Mosaic (1″-2″ tiles)
Small tiles on mesh sheets. Highest slip resistance because every grout line adds friction. Recommended for shower floors and high-wet zones.
Natural Stone (Honed)
Slate, travertine, limestone in honed (not polished) finish. Beautiful but requires regular sealing and is softer than porcelain.
Large-Format Tile
12″×24″, 18″×18″, 24″×24″+. Fewer grout lines = easier to clean and looks more modern. Subfloor must be perfectly flat.
Hexagon Mosaic
Penny rounds, hex, basketweave on mesh. Classic vintage look for traditional and farmhouse bathrooms. High slip resistance.
Slip Resistance Matters in Wet Bathrooms
The bathroom floor is wet for some part of every day. Choosing a beautiful polished tile that becomes a skating rink when wet is one of the most common — and dangerous — mistakes in bathroom design. The industry uses DCOF (Dynamic Coefficient of Friction) to measure slip resistance. For wet bathroom floors, look for tiles rated DCOF ≥ 0.42:
Polished Porcelain
Beautiful but slick when wet. Best avoided on bathroom floors unless used as accent only.
Matte/Honed Porcelain
Same look at a glance but with surface texture for grip. Safe for bathroom floors.
Textured / Structured Tile
Tiles with deliberate surface texture (sandstone look, slate replicas). Maximum grip.
Small Mosaic Tile
More grout lines per square foot = more friction. Best for shower floors specifically.
03Floor Tile Sizes & When to Use Each
04Floor Tile Layout Patterns
Bathroom floors have less area than walls, so the layout pattern shows more clearly. Picking the wrong pattern in a small bathroom can make it feel chaotic — picking the right one can make it feel bigger:
▬▬▬▬
▬▬▬▬
50% Offset (Brick)
Classic. Each row shifts half a tile. Best for wood-look plank tile.
▸ Wood-look tile▬▬▬
▬▬▬
1/3 Offset
Recommended for large-format tile (12×24+) to reduce visible lippage.
▸ Large-format tile▤ ▤
▤ ▤
Grid / Stacked
Perfect alignment in both directions. Modern look. Requires straight walls.
▸ Modern bathrooms⬣⬢⬣
⬢⬣⬢
Herringbone
Diagonal V-pattern. Adds movement to a floor. More cuts than offset.
▸ Statement floors◇◇◇
◇◇◇
Diagonal
Square tiles rotated 45°. Makes narrow bathrooms appear wider visually.
▸ Narrow bathrooms⬡⬡⬡
⬡⬡⬡
Hexagon
6-sided tiles. Vintage look, very popular in farmhouse and traditional baths.
▸ Traditional baths05Heated Floors — The Best Bathroom Upgrade Most People Skip
Why Every Bathroom Floor Tile Project Should Consider Heat
The single most luxurious upgrade you can add to a bathroom floor — and the one you’ll appreciate every winter morning in Massachusetts — is radiant electric floor heat. It runs under the tile, costs surprisingly little to operate, and turns a cold tile floor into a comfort feature. The cost to add it during tile installation is dramatically lower than retrofitting later.
06The Tricky Parts — Transitions & Edge Details
These are the small details that separate a clean professional install from a mediocre one. Each transition requires its own approach:
Tile Meets Hallway Floor
Different floor heights almost always — bathroom tile (with substrate) typically sits higher than hardwood or carpet.
Toilet Flange Height
When you add tile + thinset + substrate, the floor level rises. The toilet flange must be on top of the finished tile, not below it.
Vanity Toe Kick Cut
If vanity stays in place, the tile must be cut to fit cleanly under it. Cuts must be accurate so the toe kick doesn’t show gaps.
Door Threshold
Where bathroom tile meets the door frame. Tile thickness affects whether the door swings clear or scrapes.
Shower Curb to Floor
Where bathroom floor tile meets the shower curb tile. Two different installations meeting at one line.
Baseboard / Wall Junction
Where tile meets the wall and baseboard. Tile should run to the wall, baseboard sits on top.
07Grout Choices for Bathroom Floors
Floor grout is different from wall grout — it gets walked on, water spills on it, and cleaning chemicals contact it. Here’s what we recommend (and what to avoid):
Epoxy Grout
Stain-proof, waterproof, no sealing ever needed. Lasts the life of the tile. Best for bathroom floors, period.
Pre-Mixed Urethane Grout
Ready-to-use, stain-resistant, easier to install than epoxy. Solid middle-ground choice.
Sanded Cement Grout
Traditional grout for joints 1/8″+. Requires sealing every 1-2 years. Cheapest option.
Unsanded Cement Grout
For joints under 1/8″. Used in mosaic and small-format tile. Still requires sealing.
Standard Grout in Corner Joints
Grout where wall meets floor or two walls meet — this cracks within a year. Always use silicone caulk in change-of-plane joints.
08Our Bathroom Floor Tile Installation Process
A typical bathroom floor tile installation takes 3 to 5 working days. Here’s the phased approach:
Demo & Subfloor Inspection
Old flooring removed down to wood subfloor. Toilet pulled if needed. Joists and subfloor inspected for rot, soft spots, deflection. Any structural repairs flagged.
Subfloor Repair / Reinforcement
Any rotted plywood replaced. Joist sistering if needed. Self-leveling compound applied if floor isn’t flat enough for chosen tile size.
Membrane Layer Installation
Schluter Ditra or Ditra-Heat (if heated floor included) installed and bonded to subfloor with thinset. This is the layer that protects tile from floor movement.
Heated Floor Wires (if applicable)
Electric heating wire installed, tested for continuity, thermostat wiring run, system tested before tile goes over. Photos taken showing wire layout for future reference.
Tile Layout & Dry Fit
Pattern planned so cuts at walls are balanced. Tiles dry-laid before any thinset goes down — no surprises at the wall when we get there.
Tile Set with Proper Thinset
Modified thinset matched to tile type. Back-buttered for large tiles. Spacers placed for consistent grout lines. Cuts made with wet saw for clean edges.
Grout & Caulk
Tile allowed to cure 24 hours. Grout applied, joints cleaned, haze removed. Silicone caulk in all wall/floor and corner joints (NOT grout).
Toilet Reset, Threshold, Walkthrough
Toilet flange checked/extended. Toilet reset with wax-free seal. Door threshold installed. Final cleaning and walkthrough with you.
⚠ Common Bathroom Floor Tile Mistakes
The most common reasons bathroom floor tile fails within 1-3 years — almost always from skipped steps during install:
✕ Tile Direct on Plywood
No membrane layer, no cement board. Floor flexes, tile cracks, grout joints fail within a year.
✕ Inadequate Subfloor
Tile installed on 5/8″ plywood at 24″ joist spacing — not enough rigidity. L/360 standard ignored.
✕ Polished Tile on Floor
Glossy porcelain looks beautiful in showrooms, becomes a skating rink when wet. DCOF too low for safe wet use.
✕ Grout in Corner Joints
Rigid grout where two planes meet. Cracks with normal house movement. Should always be silicone caulk.
✕ No Thinset Coverage Check
Less than 80% thinset coverage behind tile creates voids that crack under foot traffic. Should be 95%+ for floors.
✕ Tile Stops at Vanity Toe Kick
Tile cut short under vanity. When vanity is swapped later, the missing tile area becomes a remodel issue.
✕ Wrong Thinset Type
Standard thinset under large-format or stone tile. Should be large-format/heavy-tile or stone-specific thinset.
✕ Skipping Tile Sealer
Natural stone needs sealing during install AND periodically after. Skipped sealing = stained floor within 6 months.
09Why Choose JM All-Pro for Bathroom Floor Tile
Subfloor Done Right
We check L/360, inspect joists, install proper membrane. The hidden work matters most.
In-House Tile Work
Same hands set every tile. No subcontracted crews with inconsistent quality.
Heated Floor Coordination
We install Schluter Ditra-Heat and electric mat systems. Tested before tile goes over.
MA Licensed & Insured
Construction Supervisor License #121166 and HIC #214808 — both active in MA.
Clean Transitions
Schluter profiles, proper thresholds, baseboard alignment. The details that show.
Honest Tile Recommendations
If your chosen tile won’t perform on your floor, we’ll tell you before you buy it.
Written Estimates
Full scope, materials, labor, and timeline documented before any work begins.
Older MA Home Experience
We’ve worked in 1900s farmhouses to 1970s ranches. We know what we’ll find when the floor comes up.
10Service Areas in Massachusetts
📍 Where We Install Bathroom Floor Tile
Based in Clinton, MA. Bathroom floor tile installations across Worcester County, Middlesex County, and MetroWest:
11Related Bathroom Services
12Bathroom Floor Tile FAQs
How long does bathroom floor tile installation take?
3 to 5 working days for a standard bathroom (under 80 sq ft). Subfloor prep can extend that if rot or deflection issues are found. Heated floor add-ons typically don’t extend the timeline because they’re installed between membrane and tile layers.
What tile is best for a bathroom floor?
Porcelain in 12″×24″ format with a matte or honed finish is the most popular choice — durable, low water absorption, slip-resistant when wet, and modern-looking. For shower floors specifically, small mosaic tile (1″-2″) is recommended because the extra grout lines provide better foot grip.
Can I install tile directly over my existing vinyl floor?
Generally not recommended. Vinyl flooring isn’t rigid enough to support tile properly. Best practice is to remove vinyl, inspect the plywood subfloor underneath, and install a proper substrate (cement board or uncoupling membrane) before tile.
Do I need radiant heat under my bathroom floor?
Not required — but every client who has installed it loves it. Massachusetts winters are cold, and a heated tile floor in the morning is one of those features that makes the bathroom feel premium. Adding it during tile installation costs far less than retrofitting later.
How much does a heated floor add to the cost?
Depends on bathroom size. A small powder room may add $400-$800 in materials + install. A larger primary bath might add $1,500-$3,000. The thermostat and wiring add to that. We provide an itemized quote during the estimate so you can decide whether to include it.
Will tile floor crack over time?
Properly installed tile (with adequate subfloor, uncoupling membrane, and full thinset coverage) lasts 25+ years without cracking. Tile cracks almost always come from skipped steps: inadequate subfloor, no membrane, or thinset voids behind the tile.
Should I tile under the vanity or stop at the toe kick?
We recommend tiling under the vanity (continuous tile). It costs slightly more material but preserves the option to swap the vanity later without seeing exposed subfloor or having to patch tile to match.
What slip rating should I look for on bathroom floor tile?
Look for DCOF (Dynamic Coefficient of Friction) of 0.42 or higher on the manufacturer’s spec sheet. This is the industry minimum for wet-rated floors. Avoid polished porcelain or polished marble on the floor — they’re slick when wet.
Do you handle the toilet reset after the floor is done?
Yes. We pull and reset the toilet as part of the install, check the flange height, and use a proper wax or wax-free seal. If the flange needs to be extended because the floor height changed, we handle that too.
How do I get started?
Call (508) 925-0396 or submit the quote form with photos of your existing bathroom and rough dimensions. We’ll schedule a free in-home visit, inspect the existing floor and subfloor, discuss tile and pattern options, and follow up with a clear written estimate.
→ Ready for a New Bathroom Floor?
Schedule a free in-home estimate. We’ll inspect your existing floor, talk through tile and heat options, and follow up with a written quote covering subfloor prep, tile install, transitions, and any heated floor add-ons.
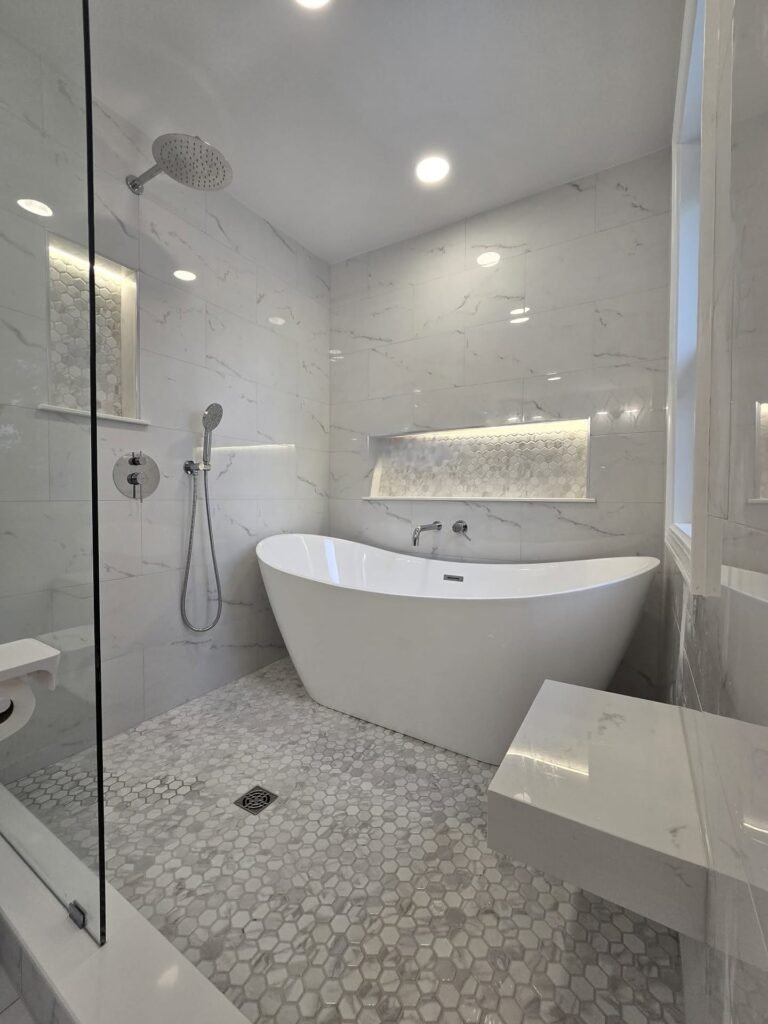
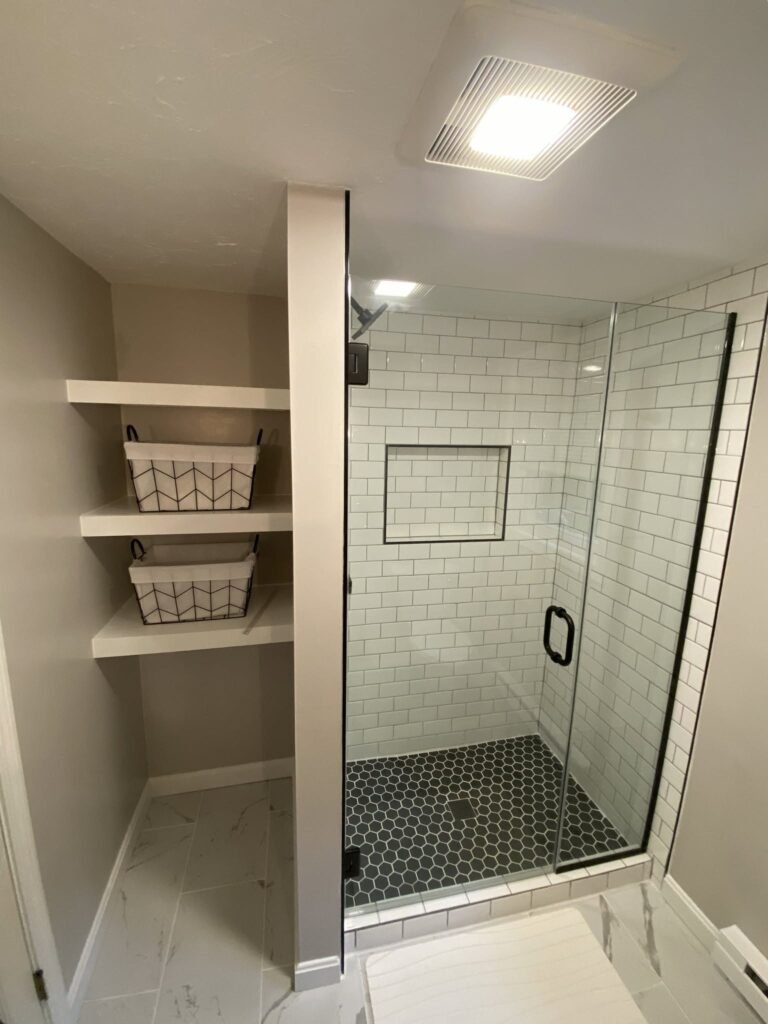
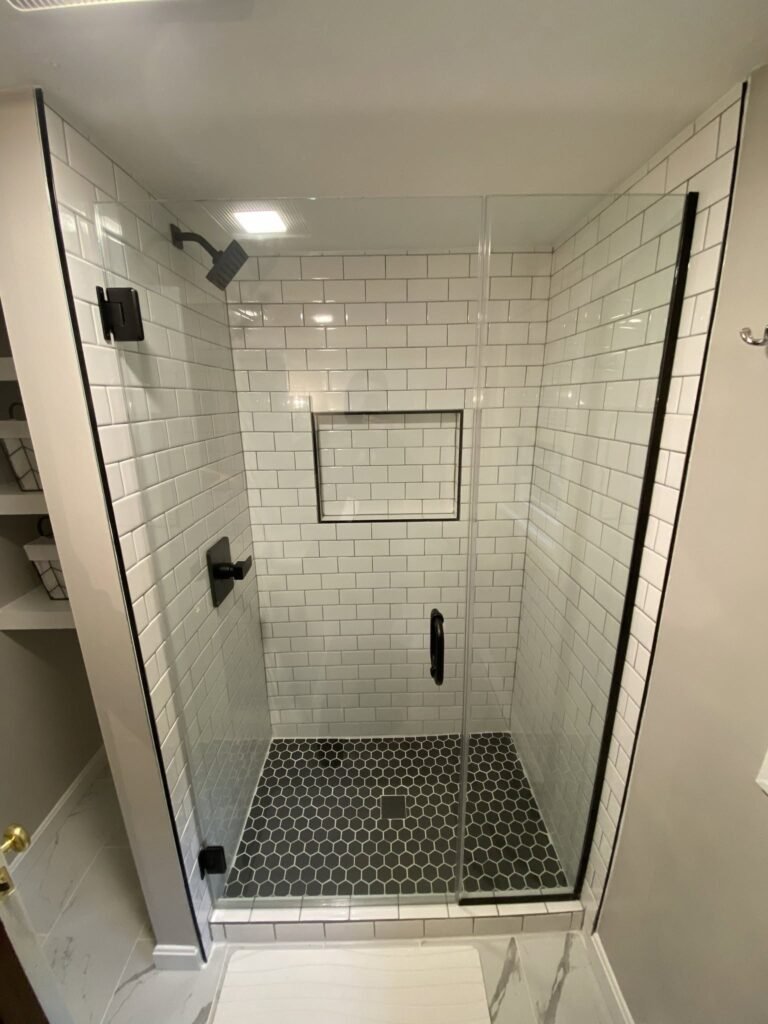
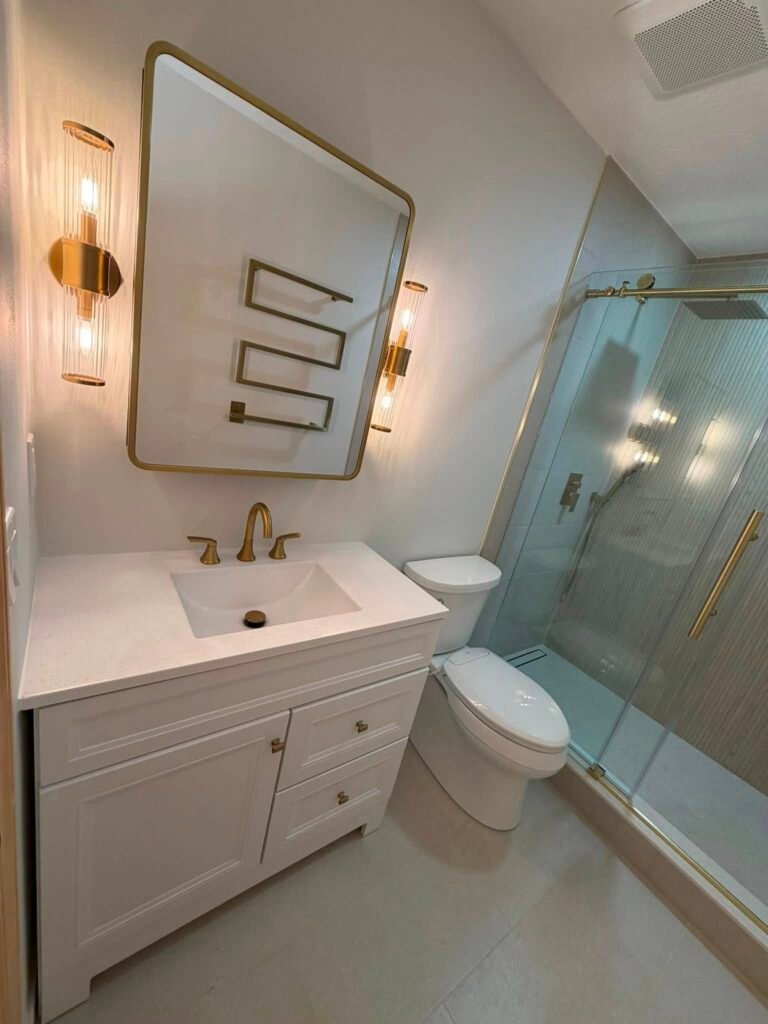
Recent Projects
A few real bathroom remodeling projects completed by our team across Worcester County & Central MA. View our full project gallery →

Explore More
Related Services
Cost Guides
Areas We Serve
Free estimate: (508) 925-0396