Finish Carpentry in Massachusetts
Trim, baseboards, crown molding, custom shelving, cabinet installation, and interior/exterior doors — installed by a licensed carpenter who measures twice and cuts once. The detail work that separates a remodel from a renovation.
Finish Carpentry — The Detail Work That Shows
Finish carpentry is everything you see after the drywall goes up: baseboards, crown molding, door casings, window trim, custom shelving, built-ins, cabinet installation, and door hanging. It’s the work that takes a “renovated” room and makes it look truly finished. Done well, it disappears into the architecture. Done badly, the caulked-filled gaps and crooked miters distract every time you walk in the room.
Trim Installation
Casings ▪ Returns ▪ Apron ▪ StoolTrim work covers every linear element of millwork in a room — the architectural framing around doors, windows, walls, ceilings, and corners. Whether you’re updating outdated 1970s clamshell to modern flat-stock, or installing premium Colonial-profile trim across a whole new build, the craft matters.
Door Casing
Three-piece trim around door frame, mitered or butt-joint
Window Casing
Trim around window: stool, apron, head casing, side jambs
Chair Rail
Horizontal trim at 32-36″ AFF, classic dining/dining room detail
Picture Rail
Higher horizontal trim, historic homes, hanging artwork without nails
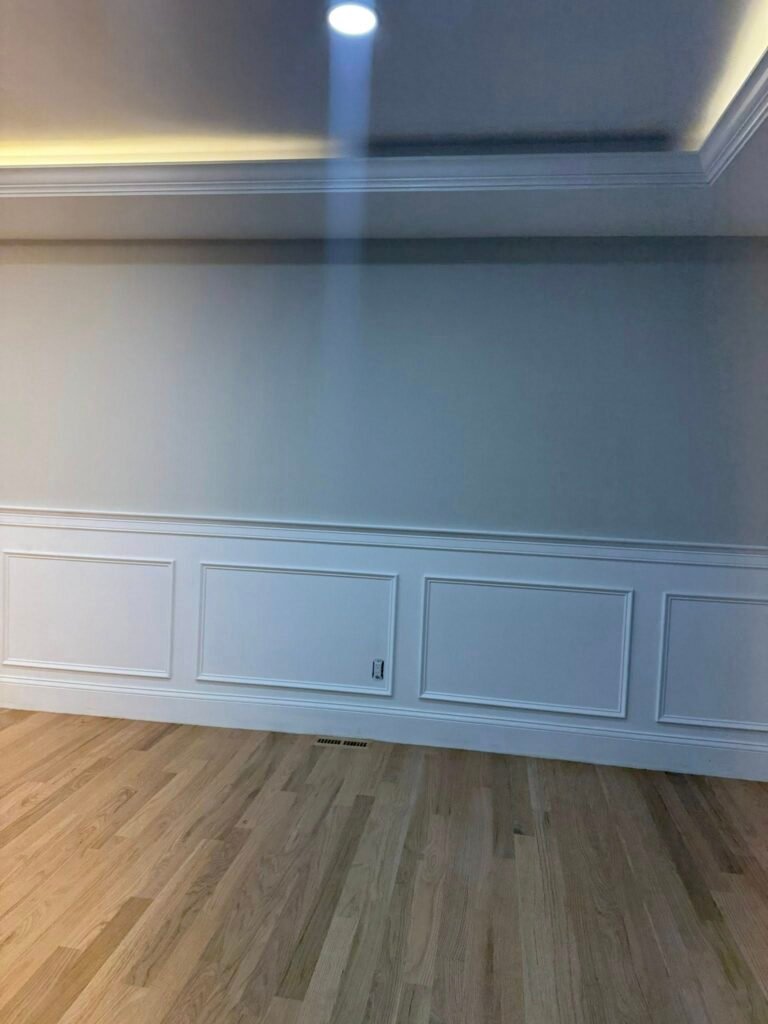
Wainscoting Cap
Top trim on wainscoting paneling (chair rail or sill-style)
Apron / Stool
Window sill cap (stool) and the trim piece below (apron)
Baseboard Installation
3″ ▪ 4-1/4″ ▪ 5-1/4″ ▪ 7-1/4″Baseboards are the trim where the wall meets the floor. They protect the bottom of drywall, hide the gap between drywall and flooring, and visually anchor the room. Height affects how the room reads — short baseboards make ceilings feel lower, tall baseboards add architectural presence.
3″ Standard
Builder-grade height. Common in 1990s-2010s builds. Budget standard.
4-1/4″ Mid-Tier
Slightly taller, more substantial. Good upgrade from 3″ without going premium.
5-1/4″ Premium
Most popular custom-build height. Adds architectural weight to any room.
7-1/4″+ Tall
High-end / historic homes with 9’+ ceilings. Dramatic statement.
Two-Piece Build-Up
Base board + cap molding on top. Adds depth without single tall piece.
Quarter Round / Shoe
Small molding at base where baseboard meets floor. Hides expansion gaps.
Crown Molding Installation
2-piece ▪ Built-up ▪ CofferedCrown molding sits where the wall meets the ceiling, hiding that joint and adding the kind of architectural weight that signals craftsmanship. It’s also among the trickiest trim work to install correctly — every inside corner has to be coped, outside corners have to be perfectly mitered, and walls that aren’t perfectly square (most walls aren’t) need adjustment.
Standard Single-Piece
3″-4-5/8″ sprung crown. Most common style, easiest install.
Two-Piece Built-Up
Crown + base/cap molding stacked. Adds depth & drama.
Multi-Piece Custom
3-4 pieces combined into substantial crown profile. Formal rooms.
Coffered Ceiling
Crown molding integrated into a coffered ceiling grid pattern.
Tray Ceiling Crown
Crown molding installed in a tray (recessed) ceiling perimeter.
Cabinet Crown
Crown applied to the top of upper cabinets in kitchens/bathrooms.
Door Trim Installation
Casing ▪ Reveal ▪ Plinth ▪ HeaderDoor casing frames the door opening. The work involves consistent reveals (the 1/8″-1/4″ space between casing edge and jamb), tight miter joints at the top corners, and properly sized casing for the door opening. Common door trim styles in MA:
Mitered Casing
45° corners at top. Modern look, requires precision cuts.
Butt-Joint Casing
Header sits on top of side casings. Classic Colonial.
Plinth Blocks
Decorative blocks at the bottom where casing meets baseboard.
Rosette Blocks
Decorative blocks at the top corners instead of miters.
Built-Up Header
Multi-piece header with cap molding above plain casing.
Craftsman Style
Wide flat boards with simple cap. Bungalow / mission style.
Window Trim Installation
Stool ▪ Apron ▪ Casing ▪ Picture-FrameWindow trim has more pieces than door trim. A traditional window has a stool (interior sill cap), apron (decorative piece below the stool), side and head casings. Modern windows often use picture-frame trim — just casing all the way around, no stool.
Traditional Trim
Stool + apron + casing on sides/top. Classic Colonial/Victorian.
Picture-Frame Trim
Casing on all 4 sides like a picture frame. Modern, simpler.
Drywall Returns
No interior trim — drywall wrapped into the window opening. Very modern.
Craftsman Window
Wide flat casing with cap, deep wooden stool. Bungalow homes.
Replacement Window Trim
After new windows installed — fixing/replacing trim that was removed.
Custom Header Detail
Built-up header with decorative dentil or rope molding.
I.Trim Material Options
The material decision matters as much as the profile. Paint-grade MDF, primed pine, solid hardwood, and PVC all have different cost, performance, and look:
Custom Shelving & Built-Ins
Floating ▪ Bracket ▪ Built-In ▪ LibraryShelving runs the spectrum from a few floating shelves above a desk to a full wall of custom built-in bookcases. We build site-built shelving (constructed in place) or install pre-built units with proper wall anchoring:
Floating Shelves
Hidden brackets, clean wall-mount look. 18-48″ lengths typical.
Bracket Shelves
Visible decorative brackets. Industrial, farmhouse, traditional styles.
Open Kitchen Shelving
Replace upper cabinets with open shelves. Trending modern look.
Built-In Bookcases
Floor-to-ceiling integrated shelving. Library, office, family room.
Window Seat / Bench Shelves
Built-in bench seat with side shelving or below-seat storage.
Fireplace Surround Shelves
Built-in shelving flanking the fireplace. Classic family room layout.
Closet Shelving Installation
Reach-In ▪ Walk-In ▪ Linen ▪ PantryCloset systems range from simple single-shelf-with-rod (the original 1950s closet design) to full custom walk-in setups with drawers, multiple rod heights, and shoe storage. We build site-installed closet systems with proper stud-anchored support:
Reach-In Closet
Standard bedroom closet with single shelf and hanging rod
Double-Hang System
Two rods stacked (short hanging items) plus single rod (long items)
Walk-In Closet System
Multiple zones: shoes, accessories, drawers, multiple rod heights
Linen Closet Shelves
Adjustable shelves at varying depths for towels and bedding
Pantry Shelving
Adjustable wood or wire shelving for kitchen pantry storage
Mudroom Cubbies
Personal cubbies for each family member’s daily items
Cabinet Installation
Kitchen ▪ Bathroom ▪ Built-In ▪ CustomCabinet installation is more than just hanging boxes on walls. Proper install requires shimming for level, anchoring into studs (not drywall), perfectly aligned reveals between doors, correctly installed filler strips, scribed end panels against irregular walls, and clean trim work around the cabinetry.
Kitchen Cabinets
Base, upper, tall, pantry cabinets. Stock, semi-custom, or custom
Bathroom Vanity Cabinets
Vanity installations with proper plumbing cutouts and leveling
Laundry Room Cabinets
Above-washer cabinets, base storage, broom/tall cabinets
Mudroom Lockers
Custom locker cabinets with hooks, cubbies, bench seat
Built-In Office Cabinets
Desk + upper storage built into office or den
Garage Storage Cabinets
Heavy-duty cabinetry for garage workshop or storage
Interior Door Installation
Slab ▪ Pre-Hung ▪ Pocket ▪ BarnInterior doors come pre-hung (door + frame as one unit) or as slabs (door only, fitted into existing frame). Pre-hung is easier; slabs require the existing jamb to be straight and square. Either way, the install needs proper shimming, hinge alignment, and reveal consistency.
6-Panel Colonial
Classic raised-panel door. Most common in MA homes.
2-Panel Shaker
Two flat panels. Modern farmhouse trending heavily.
Flat-Slab Modern
Single flat surface. Minimalist contemporary homes.
French Doors
Double doors with glass panels. Living room to dining/office.
Pocket Doors
Slide into wall cavity. Space-saving in tight rooms.
Barn Doors
Slide along wall-mounted track. Rustic and modern styles.
Exterior Door Installation
Front ▪ Side ▪ Patio ▪ SliderExterior doors are more complex than interior — they need to seal against weather, support exterior locks/deadbolts, integrate with the home’s siding, and meet energy code. Proper installation requires sill flashing, jamb shimming, weather sealing, and threshold adjustment.
Entry Door Replacement
Front or side door replacement with new frame, threshold, weather seal
Fiberglass Exterior Doors
Most popular MA choice — durable, insulated, paint or stain finish
Steel Exterior Doors
Most secure, lower cost. Standard for back doors and rentals
Wood Entry Doors
Solid wood, premium appearance. Requires regular maintenance
French Patio Doors
Double doors to deck/patio with full glass panels
Sliding Patio Doors
Glass sliding doors to deck/patio, vinyl or aluminum frames
Storm Door & Screen Door Installation
Full-View ▪ High-View ▪ Retractable ▪ Pet DoorStorm doors and screen doors add a second layer to your entry — protecting the main door from weather, allowing ventilation in summer, and improving energy efficiency in winter. Massachusetts homes especially benefit from both.
Full-View Storm Door
Glass panel covers entire door. Shows off front door behind it
High-View Storm Door
Glass upper half, solid lower half. Reduces ground-level kick damage
Mid-View Storm Door
Smaller window in middle. Most affordable storm door option
Retractable Screen
Screen rolls into housing when not in use. Premium feature
Screen Door (Standalone)
For doors that already have storm (just screening, no glass insert)
Pet Door Integration
Adding a pet door panel to existing storm or screen door
Sliding Door Repair Services
Sliding patio doors typically have one or more of these issues by year 10. Rather than full replacement ($1,500-$3,500), repair is often the right answer:
- Replace damaged rollers (door won’t slide smoothly)
- Track repair or replacement (bent, damaged, dirty)
- Re-screen old screen panel
- Lock and handle replacement
- Weather seal replacement (cold air infiltration)
- Glass replacement (cracked or fogged panes)
- Door alignment/squaring adjustment
- Re-glazing fogged thermal panes
Door Repair Services
Sticky ▪ Sagging ▪ Hardware ▪ FrameDoors that don’t close right, drag on the floor, won’t latch, or whose hardware has failed are the most common service call we get. Most door issues can be repaired without full replacement:
Sticky / Won’t Close
Hinges loosened, door sagged, or frame settled. Usually fixable with shim or hinge adjustment.
Dragging on Floor
Door bottom dragging. Trim door, tighten hinges, or adjust strike plate.
Won’t Latch
Strike plate misaligned. Adjust strike position, file plate, or reset hinges.
Cracked Frame
Jamb split from kick/forced entry. Frame repair or partial replacement.
Failed Hardware
Knob, lock, or deadbolt mechanism failed. Replace hardware or fix internal mechanism.
Damaged Threshold
Exterior threshold rotted/damaged. Replace threshold and reseal.
Squeaky Hinges
Hinge pin lubrication or replacement of worn hinges.
Doggy Door Patches
Filling in old pet door openings when removing the pet door.
II.The Craft Details That Show
✂ What Separates Real Finish Carpentry From “Trim Slapped On”
Finish carpentry is judged on details that homeowners notice eventually, even if they can’t articulate why a job looks bad. These are the markers of real craftsmanship we put into every project:
Coped Inside Corners
One trim piece cut to match the profile of the other — not mitered. Stays tight when wood moves.
Tight Miter Joints
Outside corners cut at the exact compound angle. No caulk-filled gaps to hide bad cuts.
Consistent Reveals
1/8″ to 1/4″ gap between trim edge and door jamb — same all the way around the opening.
Scribed to Walls
Walls aren’t perfectly straight. Trim has to be scribed to match irregularities, especially baseboards.
Nail Holes Filled
Wood filler in every nail hole, sanded smooth. No visible nail holes when painted.
Caulked at Walls Only
Caulk where trim meets drywall — not in the joints between trim pieces. Bad joints get fixed, not caulked.
Pre-Primed Before Install
Trim primed before installation so edges and back are sealed. Reduces seasonal expansion issues.
Square Returns at Edges
Where trim runs into a wall or another piece, a clean square return — not just a square cut.
III.Our Finish Carpentry Process
In-Home Consultation
Walk the project — what rooms, what trim profiles, what doors, what scope. Discuss material options (paint-grade vs. stain-grade), budget tier, and timeline.
Measurements & Material Order
Detailed measurements taken. Trim, doors, hardware, and supplies ordered. Long-lead items (custom doors, premium hardwood) sourced first.
Written Estimate
Detailed scope by room with materials, labor, and timeline. Reviewed and signed before work starts.
Prep & Pre-Prime
Trim cut and pre-primed in workshop. Surfaces prepped, walls inspected for straightness, areas protected from dust.
Installation
Trim installed with finish nailer or trim-pin nailer. Inside corners coped, outside corners mitered, reveals checked, fasteners countersunk.
Caulk & Fill
Nail holes filled, joints caulked at wall, trim sanded smooth where needed. Ready for paint.
Paint or Stain
Final coats of paint or stain (if included in scope). Some clients prefer to paint themselves after install.
Walkthrough & Cleanup
Final walkthrough with you, punch list addressed, jobsite cleaned thoroughly. Wood dust removed.
⚠ Finish Carpentry Mistakes We See Often
Most “bad” trim work isn’t from bad materials — it’s from skipping the steps that take time. These are the common mistakes we get hired to fix or avoid:
✕ Mitered Inside Corners
Inside corners should be coped, not mitered. Mitered joints open up within a year of seasonal humidity changes.
✕ Caulk in Joints
Caulk used to hide bad cuts. Caulk shrinks over time and the bad joint becomes visible again.
✕ No Scribe to Floor
Baseboard installed flat against a wavy floor. Gaps visible under baseboard everywhere.
✕ Inconsistent Reveals
Door casing 1/4″ reveal on one side, 1/8″ on the other. Trained eye notices immediately.
✕ Hinges Set Too Tight
Hinges mortised too deep — door binds in jamb. Or too shallow — door doesn’t sit flush.
✕ Cabinets Not Shimmed
Cabinets installed without proper shimming for level — countertops slope, doors don’t align.
✕ Wrong Material in Wet Areas
MDF baseboards in bathroom or laundry. Swells from moisture. Should be PVC or solid wood there.
✕ Shelves Not Into Studs
Loaded bookshelf anchored with drywall anchors only. Pulls out of wall under weight.
IV.Why Choose JM All-Pro for Finish Carpentry
Coped Joints Standard
Every inside corner coped, not mitered. The detail that lasts decades.
MA Licensed & Insured
Construction Supervisor License #121166 and HIC #214808. Full coverage.
Single or Multi-Room
Single room trim refresh through whole-home millwork projects.
Material Flexibility
MDF, primed pine, hardwood, PVC — spec’d to your room and budget.
Door Hanging Specialists
Pre-hung, slabs, pocket doors, barn doors, all properly installed.
Door Repair Specialists
Sticking, sagging, hardware issues — fixed rather than replaced when possible.
Written Estimates
Detailed scope and pricing in writing before work begins. No surprises.
Clean Worksite
Sawdust managed, surfaces protected, areas vacuumed daily.
V.Service Areas in Massachusetts
📍 Where We Do Finish Carpentry
Based in Clinton, MA. Trim, doors, shelving, and millwork across Worcester County, Middlesex County, and MetroWest:
VI.Related Services
VII.Finish Carpentry FAQs
What’s the difference between trim and finish carpentry?
Finish carpentry is the broader category — it includes trim work (baseboards, casings, crown), interior and exterior doors, custom shelving, built-ins, cabinet installation, and stair components. Trim work is one part of finish carpentry. A finish carpenter handles all the millwork that’s visible after drywall.
How much does new trim cost in MA?
Varies by linear footage, material, and complexity. Paint-grade MDF baseboards are the lowest tier. Stain-grade hardwood with complex profiles is the highest. Whole-house trim refresh runs in the thousands; single-room work in the hundreds. We provide written estimates after measuring your rooms.
How long does a trim job take?
Depends on scope. A single room (one bedroom + closet) typically takes 1-2 days. Whole-house trim refresh (8-10 rooms) takes 2-3 weeks. Door hangings take 1-2 hours each. Custom built-in bookcases run 3-7 days depending on size and complexity.
Should I paint trim before or after installation?
Both. Trim should be pre-primed before install (the back and edges get sealed). After install, fill nail holes, sand, then apply the final 1-2 coats of finish paint. This produces the best result. Pre-painted trim has dings from handling; on-site final coat after install is cleaner.
What baseboard height is best?
3-1/4″ is builder-grade standard. 4-1/4″ is the comfortable upgrade. 5-1/4″ is the most popular custom-build height — substantial without overwhelming. 7-1/4″+ tall baseboards work in 9’+ ceilings and historic homes. Most MA homes look best with 5-1/4″ matched to the home’s age and ceiling height.
Can you install a new door in an old opening?
Yes. We can hang a new slab door in the existing jamb if the frame is straight and square. If the frame is damaged or out of square, we install a pre-hung door (door + frame as one unit). Pre-hung is more reliable in older MA homes where frames have settled over time.
What’s a coped joint vs mitered?
Mitered: both pieces cut at 45° meeting at an inside corner. Coped: one piece cut at 90°, the other cut to follow the profile of the first piece. Coped joints stay tight as wood expands and contracts seasonally. Mitered inside corners almost always open up within a year or two. We cope every inside corner.
Can you repair my sliding door instead of replacing it?
Usually yes. Most sliding door issues — rollers, tracks, locks, weather seals — are repairs costing a fraction of a full replacement. We replace rollers, repair tracks, re-screen panels, replace weather seals, and adjust alignment. Full replacement is only needed when the frame or glass is structurally damaged.
How do I get started with a finish carpentry project?
Call (508) 925-0396 or submit the quote form with photos of the rooms or areas needing work, plus any inspiration photos. We schedule a free in-home consultation, discuss profile and material options, and follow up with a written estimate.
Ready for the Finish Work That Shows?
Schedule a free in-home estimate. Trim, doors, custom shelving, cabinets, repairs — same craftsman approach for every project. We’ll walk through your space, talk profiles and materials, and follow up with a written quote.
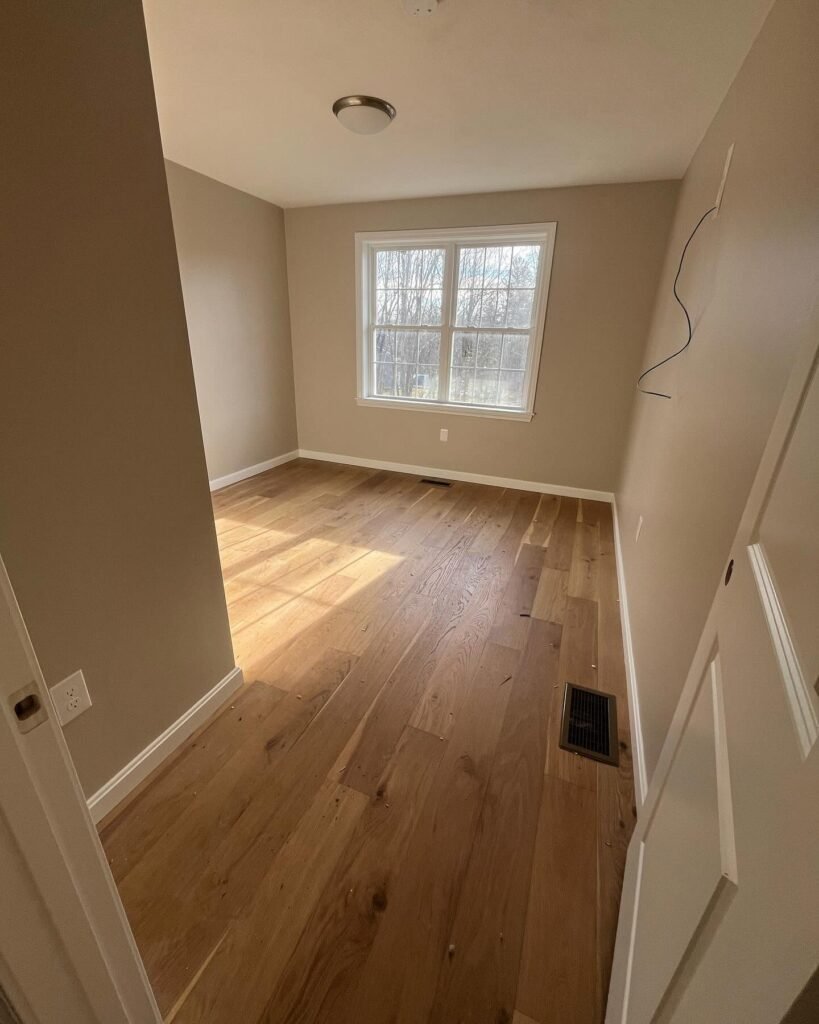
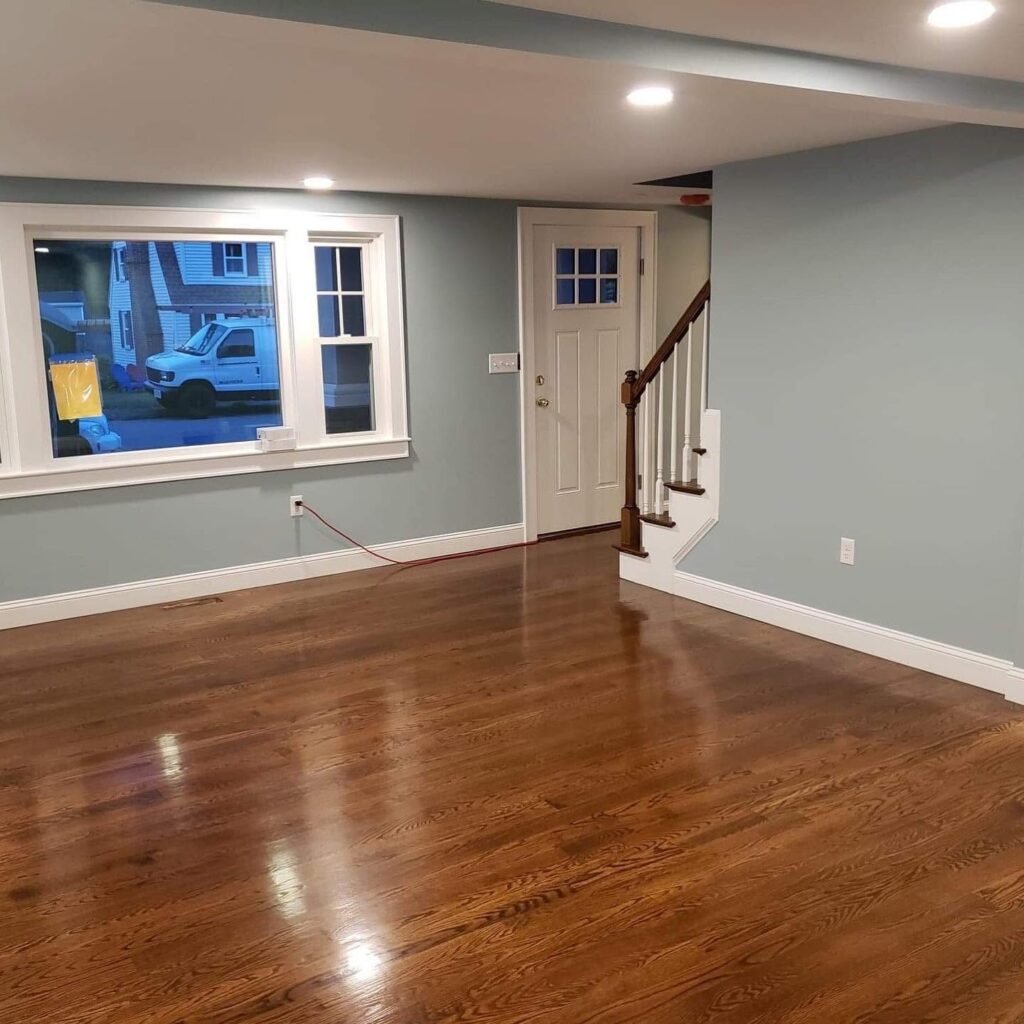
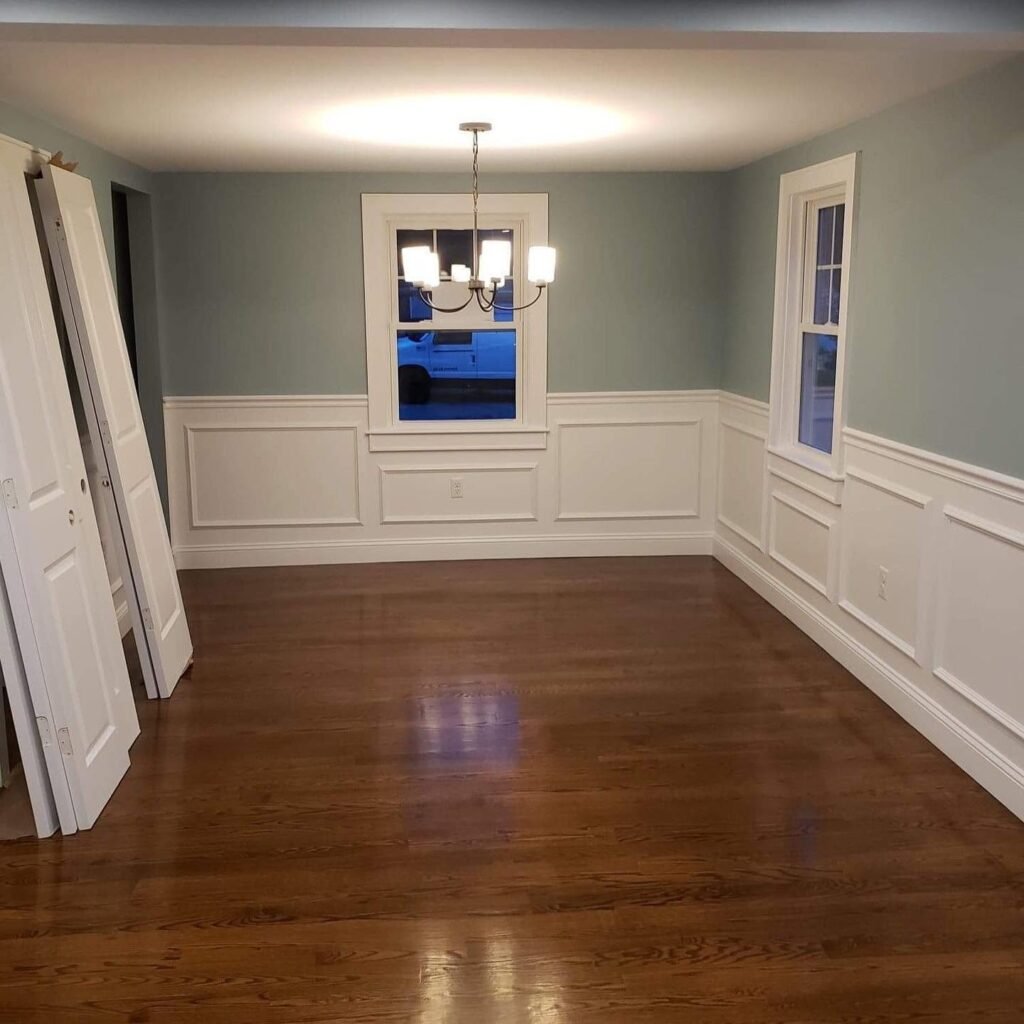
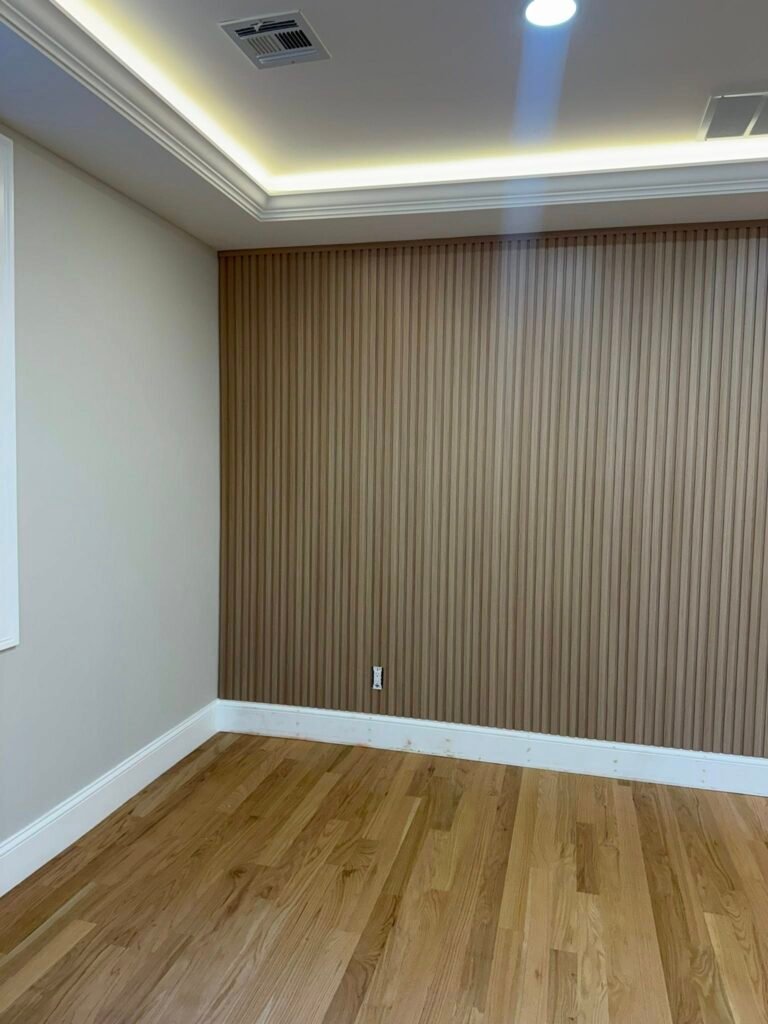
Recent Projects
A few real interior remodeling projects completed by our team across Worcester County & Central MA. View our full project gallery →

Explore More
Related Services
Cost Guides
Areas We Serve
Free estimate: (508) 925-0396